
Java is an object-oriented programming language developed by Sun Microsystems in the early 1990s and later owned by Oracle Corporation. It is commonly used for creating various applications, including web and mobile applications, desktop applications, games, and scientific applications.
OpenJDK (Open Java Development Kit) is an open-source software implementation of the Java Platform, Standard Edition (Java SE). It provides a Java compiler, Java Virtual Machine (JVM), and Java class libraries. It is a popular choice among developers for creating Java-based applications and comes pre-installed as the default JDK in numerous Linux distributions.
Oracle JDK (Java Development Kit) is a proprietary implementation of the Java Platform, Standard Edition (Java SE), developed by Oracle Corporation. It includes a Java compiler, Java Virtual Machine (JVM), and Java class libraries
This article will explain how to install and configure OpenJDK and Oracle JDK on Rocky Linux.
Prerequisites
Before proceeding with the installation, you will need the following:
- A Rocky Linux server with access to sudo privileges
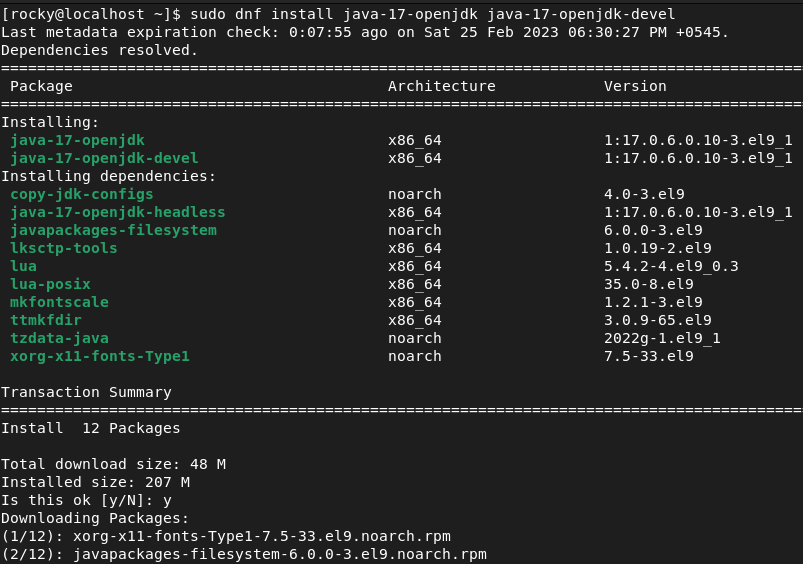
Install OpenJDK 17
OpenJDK 17 is the latest LTS release of the Java Development Kit. To install OpenJDK, open a terminal and run the following command.
$ sudo dnf install java-17-openjdk java-17-openjdk-devel
Once you finish the installation, execute this command to verify the installation.
$ java -version
It prints the Java version configured on your system.

As you can see, OpenJDK version 17.0.6 is successfully installed on the system.
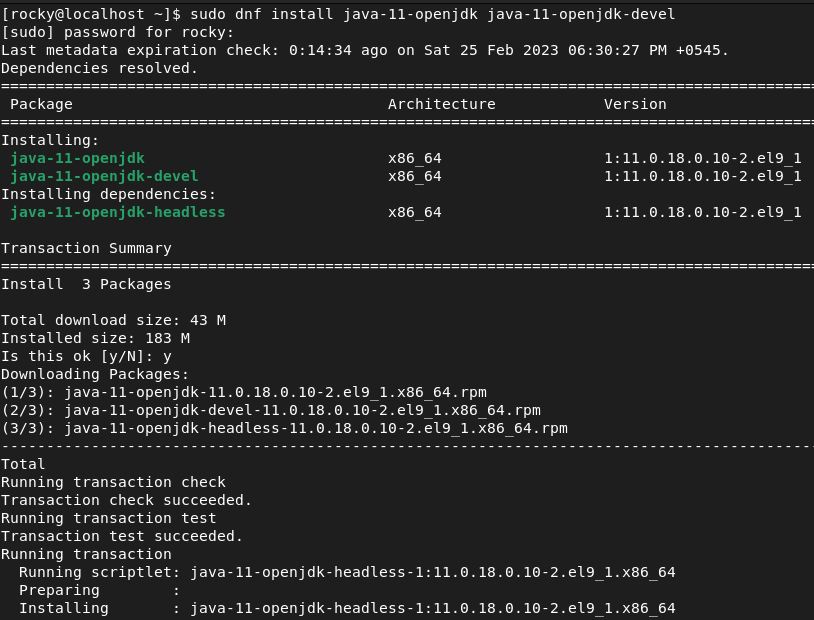
Install Open JDK 11
Open JDK 11 is still a widely used Java version. If you need to install Open JDK 11, run the following command.
$ sudo dnf install java-11-openjdk java-11-openjdk-devel
Now you have installed two Java versions on your Rocky Linux system. Run this command to check the Java version.
$ java -version

The current default version for Java is OpenJDK 11. To change the Java version, you can use the following command.
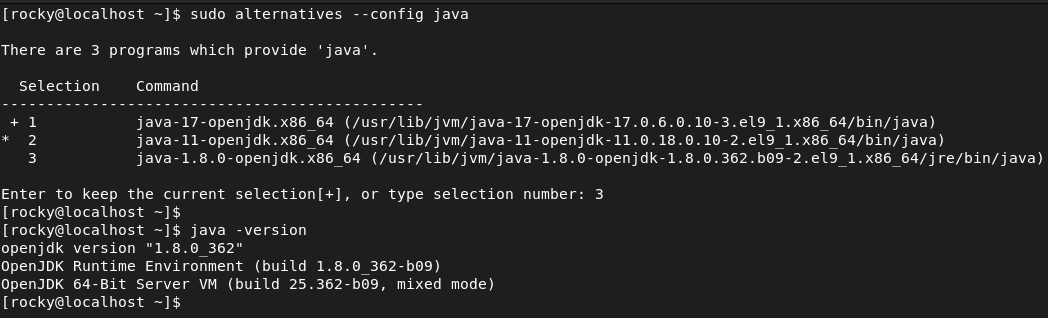
$ sudo alternatives --config java
It displays a list of all installed Java versions on the system. To choose the OpenJDK 17, type its selection number and press Enter.
Here, the selection number of Java 17 is 1.
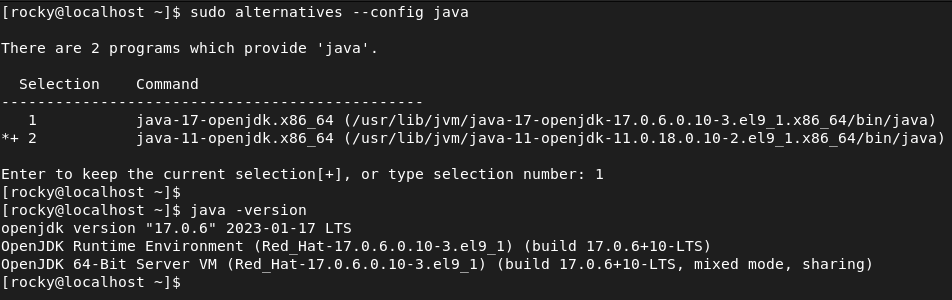
Then verify the change with this command.
$ java -version
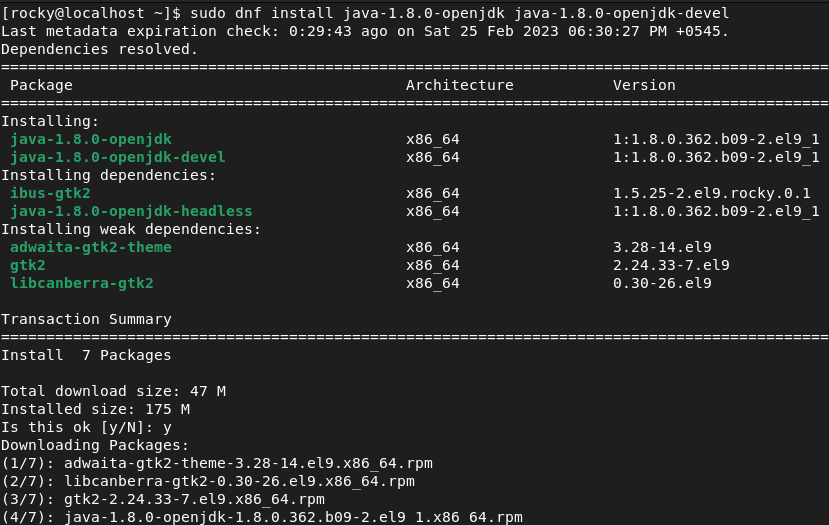
Install OpenJDK 8
If you are required to install Java OpenJDK 1.8, you can run the below command.
$ sudo dnf install java-1.8.0-openjdk java-1.8.0-openjdk-devel
To use Java 8, select Java version 1.8 using this command.
$ sudo alternatives --config java
Install Oracle JDK on Rocky Linux
Despite being a proprietary software package, Oracle provides free downloads of the JDK for testing and development purposes. You can follow the below steps to install Oracle JDK on your Rocky Linux system.
Download Oracle JDK RPM Package
Oracle JDK is not available in the default Rocky Linux repository. You have to download it from the Oracle website and install it on your system.
To download Oracle JDK, go to the Oracle website and download the Oracle JDK for Linux. For Rocky Linux, choose the RPM package.
Or, you can use this wget command to get the Oracle JDK RPM package. It downloads the Oracle JDK 17 RPM package in the current directory,
$ wget --no-cookies --no-check-certificate --header "Cookie: gpw_e24=http%3A%2F%2Fwww.oracle.com%2F; oraclelicense=accept-securebackup-cookie" "https://download.oracle.com/java/17/latest/jdk-17_linux-x64_bin.rpm"
Install Oracle JDK from RPM Package
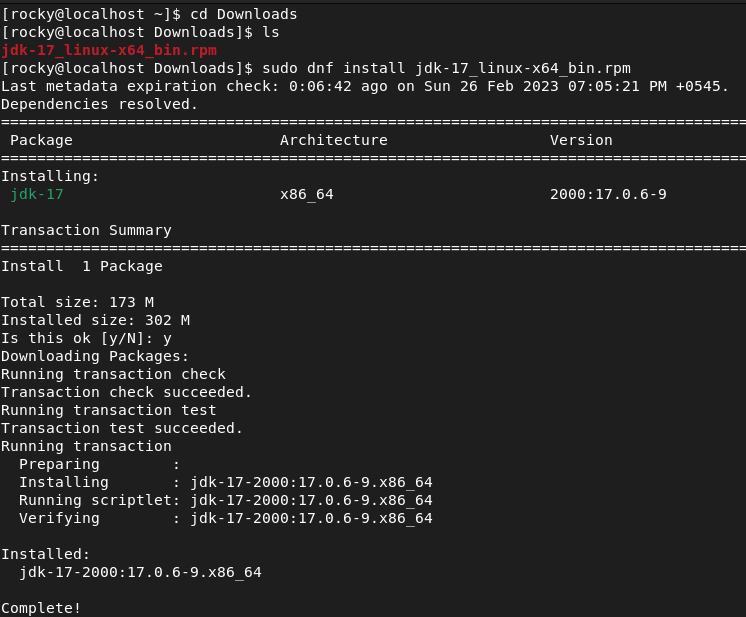
Next, navigate to the directory where you have downloaded the Oracle JDK RPM package. And run the dnf install command specifying the package name as shown below.
$ cd Downloads
$ sudo dnf install jdk-17_linux-x64_bin.rpm
The package name will be different based on the Java version you have downloaded.
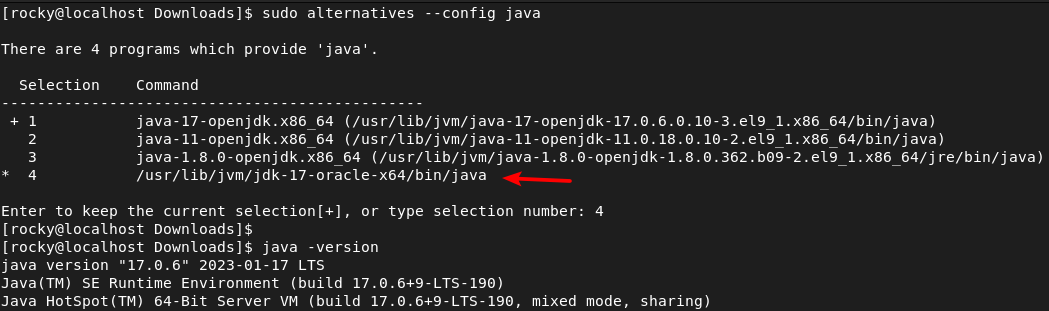
To verify the installation, execute the command below.
$ sudo alternatives --config java
The 4th option shows Oracle JDK 17. Enter the selection number 4 to use Oracle Java 17.
 Similarly, you can install other versions of Oracle Java if required.
Conclusion
Now you know how to install and manage multiple versions of Java on Rocky Linux. You have learned to configure the default version for your Java applications.
If you encounter any issues during the installation of Java on Rocky Linux, please let us know in the comments.