
Metabase is a user-friendly and open-source business intelligence tool that allows you to analyze data. It is widely used for sharing automated reports, live dashboards, and business questions with many organizations.
This tutorial will explain how to set up Metabase using a jar file and configure Nginx for a reverse proxy on Rocky Linux 9.
Java Installation
You must install a Java Runtime Environment (JRE) to run Metabase using a jar file. Metabase needs at least Java 8 or higher version installed on the system.
Use the following command to get Java 11.
$ sudo dnf install java-11-openjdk
After the installation, you can run this command to check the java version on your system.
$ javac -version
Output:
openjdk version "11.0.16.1" 2022-08-12 LTS
Run metabase.jar File
Metabase is available in a jar file which you can install from its official website.
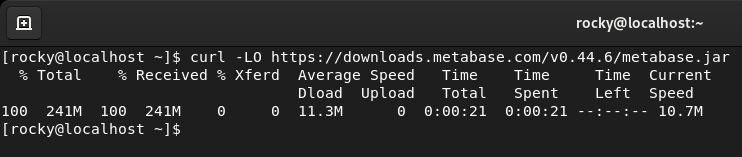
Run the curl command to download the metabase jar file. v0.44.6 was the current latest version.
$ curl -LO https://downloads.metabase.com/v0.44.6/metabase.jar
Create a new directory metabase and move the metabase.jar file into it.
$ sudo mkdir /opt/metabase
$ sudo mv metabase.jar /opt/metabase
The simplest method of running Metabase is using the Java application to run a metabase.jar file.
Change the directory to the newly created directory and execute this command to run Metabase.
$ cd /opt/metabase
$ java -jar metabase.jar
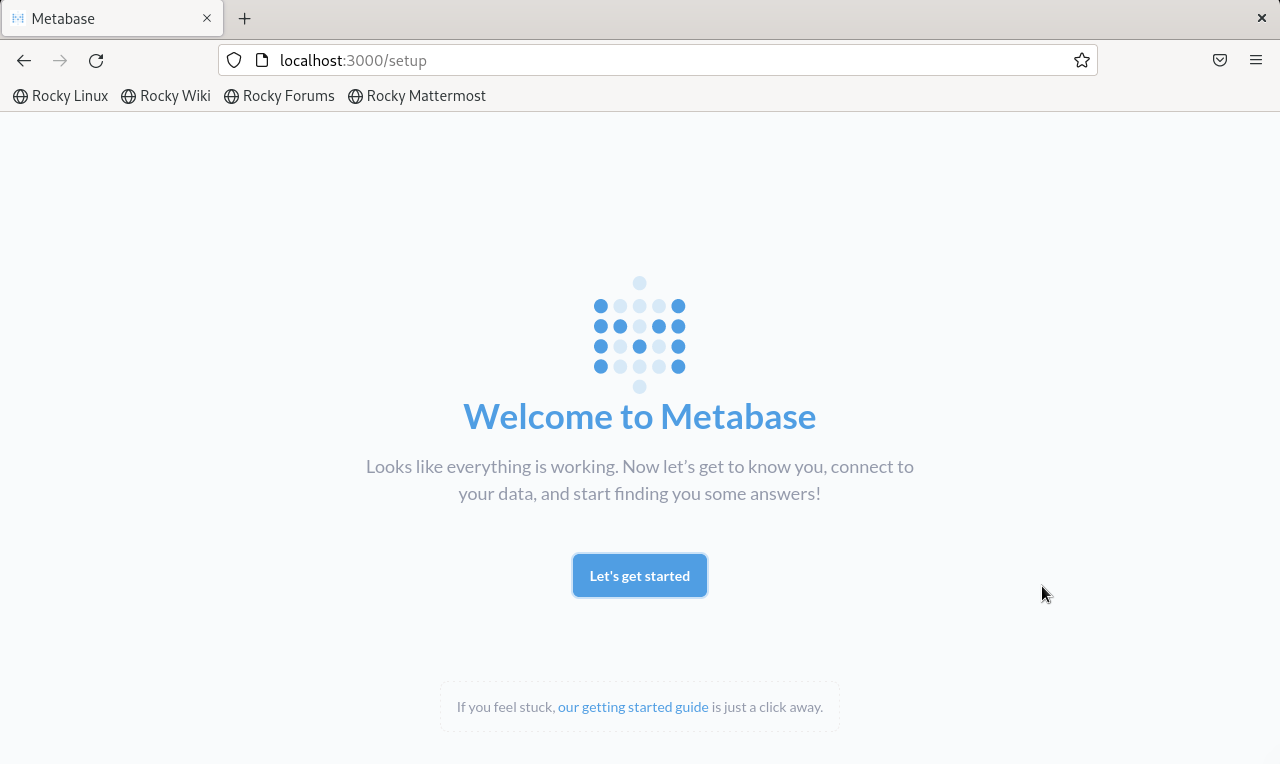
It will start the Metabase server on port 3000, the default setting. You can view the Metabase setup page by visiting http://localhost:3000.
By default, Metabase uses the local H2 database for storing all data. This default configuration is suitable for personal use only. To run Metabase for production deployment, using supported databases such as Postgres, MySQL, or MariaDB is highly recommended.
Use Metabase for Production
This tutorial will use the MariaDB database to run Metabase in production If you have not configured MariaDB on your system, follow the below guides to begin the installation.
Run this command to install the MariaDB server.
$ sudo dnf install mariadb-server
After the installation completes, start the MariaDB service.
$ sudo systemctl start mariadb
Enable the MariaDB service to startup during the boot.
$ sudo systemctl enable mariadb
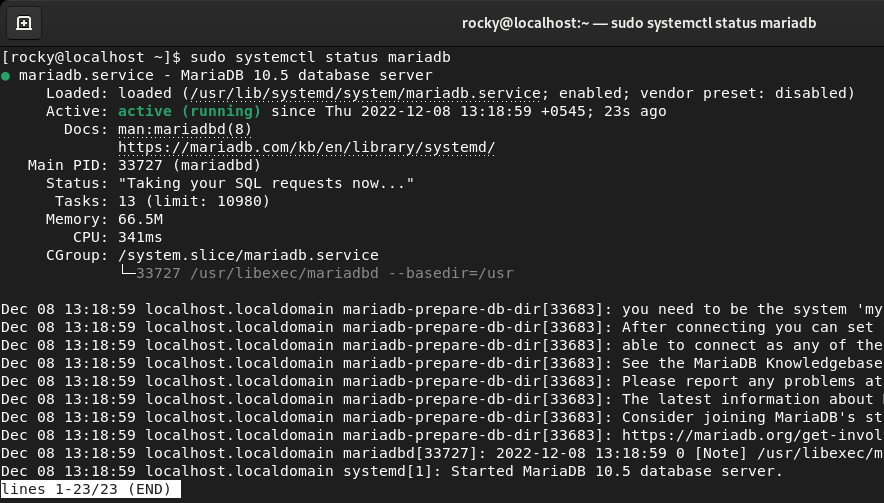
To check whether the service is up and running, execute this command.
$ sudo systemctl status mariadb
Now, you have to configure the root password for MariaDB using the command-line tool mysql_secure_installation.
$ sudo mysql_secure_installation
Enter your root password and follow the text below to answer Y/n accordingly.
Enter current password for root (enter for none):
OK, successfully used password, moving on...

Switch to unix_socket authentication [Y/n] n
 ... skipping.

Change the root password? [Y/n] n
 ... skipping.

Remove anonymous users? [Y/n] Y
 ... Success!

Disallow root login remotely? [Y/n] Y
 ... Success!

Remove test database and access to it? [Y/n] Y
 - Dropping test database...
 ... Success!
 - Removing privileges on test database...
 ... Success!

Reload privilege tables now? [Y/n] Y
 ... Success!

Cleaning up...

All done!  If you've completed all of the above steps, your MariaDB
installation should now be secure.

Thanks for using MariaDB!
Create a User and Database
In this step, we will create a database and user to access that database.
First, run this command to log in to the MySQL shell.
$ mysql -u root -p
You will be prompted to enter your root password.
Next, create a new database metabase with this query.
CREATE DATABASE metabase;
Create a new database user metabase with a password metapa$$worD.
CREATE USER metabase@'localhost' IDENTIFIED BY 'metapa$$worD';
Grant the user metabase full access to the database metabase.
GRANT ALL ON metabase.* TO metabase@'localhost' WITH GRANT OPTION;
Reload the grant tables and exit.
FLUSH PRIVILEGES;
EXIT;
Add New User and Group for Metabase
We have to run Metabase as an unprivileged user for security purposes.
We will create a new user and group metabase using the commands below.
$ sudo groupadd -r metabase
$ sudo useradd -r -s /bin/false -g metabase metabase
Next, change the owner of the directory /opt/metabase to user metabase. /opt/metabase is the directory where we have a metabase.jar file.
$ sudo chown -R metabase:metabase /home/metabase
Configure Metabase Log with Rsyslog
Here, we will configure the Metabase log using the rsyslog.
Create a metabase.log file in the /var/log directory and change the owner to the user metabase.
$ sudo touch /var/log/metabase.log
$ sudo chown metabase:metabase /var/log/metabase.log
Next, create a new configuration file metabase.conf in the directory /etc/rsyslog.d.
$ sudo nano /etc/rsyslog.d/metabase.conf
Then add these lines to the file and save it.
if $programname == 'metabase' then /var/log/metabase.log
& stop
Finally, restart the Syslog service.
$ sudo systemctl restart rsyslog.service
Add Metabase Configurations
Now, create a new environment file metabase in the /etc/default directory and add the following configurations into it.
$ sudo nano /etc/default/metabase
MB_PASSWORD_COMPLEXITY=strong
MB_PASSWORD_LENGTH=10
MB_DB_TYPE=mysql
MB_DB_DBNAME=metabase
MB_DB_PORT=3306
MB_DB_USER=metabase
MB_DB_PASS=metapa$$worD
MB_DB_HOST=localhost
MB_EMOJI_IN_LOGS=true
Change the permission of the file to 640.
$ sudo chmod 640 /etc/default/metabase
Create a Systemd Service File
You will need a systemd service file to control the Metabase service. Execute this command to create a metabase.service file.
$ sudo nano /etc/systemd/system/metabase.service
Then copy the following lines to the file and save it.
[Unit]
Description=Metabase server

[Service]
WorkingDirectory=/opt/metabase/
ExecStart=/usr/bin/java -jar /opt/metabase/metabase.jar
User=metabase
Type=simple
Restart=on-failure
RestartSec=10

[Install]
WantedBy=multi-user.target
After that, run this command to reload the systemd manager.
$ sudo systemctl daemon-reload
Then start the Metabase service and add it to start at boot.
$ sudo systemctl start metabase
$ sudo systemctl enable metabase
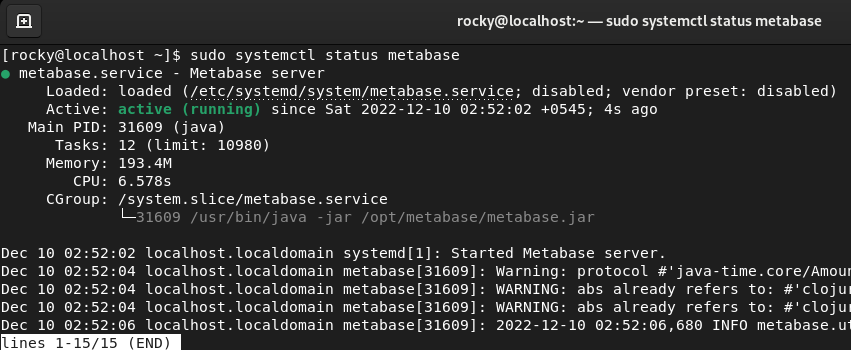
You can confirm the Metabase service status using this command.
$ sudo systemctl status metabase
Configure Nginx for Proxy
Now, we will set up the Nginx to create a reverse proxy for Metabase so you can access Metabase on port 80.
Run the command below to install Nginx.
$ sudo dnf install nginx
After completing the installation, edit the nginx.conf using the following command.
$ sudo nano /etc/nginx/nginx.conf
Then add the following lines to the nginx.conf file.
server {
listen 80;
listen [::]:80;
server_name domain.com;
location / {
proxy_pass http://127.0.0.1:3000;
}
}
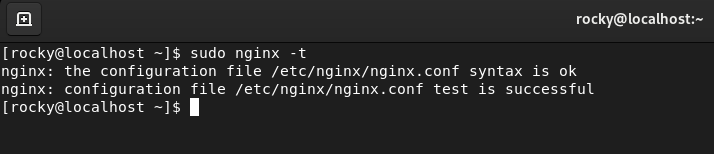
You can check the Nginx settings for any error by executing this command.
$ sudo nginx -t
At last, restart the Nginx service.
$ sudo systemctl restart nginx
Now you can see the Metabase setup from the specified domain and connect your data by completing the setup process.
Click the Let's get started button and proceed with the configuration.
Conclusion
In this article, you have learned how to run Metabase using a jar file and set up Metabase for production. We also showed you to install and configure Nginx for reverse proxy on Rocky Linux 9.
If you have any confusion, let us know in the comment section.