
Ansible is a configuration management tool that helps to control a large number of servers in an automated way. It allows you to manage many servers from a central server.
It stands out over other popular automation tools such as Puppet, Chef, and SaltStack since it doesn’t require any special software installed on nodes. It uses SSH to execute tasks remotely and YAML files to define settings.
This article will show you how to install and configure Ansible on Ubuntu 22.04.
Prerequisites
There are two types of servers in Ansible: control node and managed or host nodes. A control node is a machine on which you install and run Ansible. Host nodes are the devices that are managed by the control node.
- A minimum of 2 different servers or VMs (for control and host nodes)
Recommended: 3 nodes (1 control, 2 worker nodes) - Installation of Ubuntu 22.04 on all servers.
- A sudo privileged non-root user.
- Make sure your host nodes are reachable from your control node (SSH).
How to Setup SSH keys
For connecting to the remote server, you must add the control node’s SSH public keys to the host nodes.
First, execute the following command in all nodes to generate SSH keys.
$ ssh-keygen
Once the key is generated, go to the control node and run this command.
$ cat ~/.ssh/id_rsa.pub
Copy the output from the above command and paste them into all host nodes inside the ~/.ssh/authorized_keys file.
$ nano ~/.ssh/authorized_keys
Exit the editor and save the file by using CTRL+X then Y and ENTER . You can run these commands to verify the changes.
$ cd .ssh/
$ cat authorized_keys

Now, your host nodes will be reachable via SSH from the control node.
Installing Ansible
You can install the latest stable ansible software from the distribution repositories. To use Ansible for managing servers, you need to install Ansible software on the control node machine.
Execute the following command to add Ansible’s official repository to the system.
$ sudo apt-add-repository ppa:ansible/ansible
After adding a repository, update your system to make it aware of the newly added ansible package repository.
$ sudo apt update
Then execute the following command to install Ansible.
$ sudo apt install ansible
Now, we have successfully installed the Ansible software on the control node. The next step is adding hosts to the control node’s inventory file to make it control them.
Setting up Inventory
DNS and /etc/hosts file are generic solutions to provide the resolution of host names to an IP address. Ansible requires DNS or /etc/hosts both to reach the managed hosts by their names.
It also requires an inventory file that identifies managed hosts. You can use it to define host groups to be used by Ansible.
Use any of your favourite text editors to edit the default Ansible inventory /etc/ansible/hosts file on the control node.
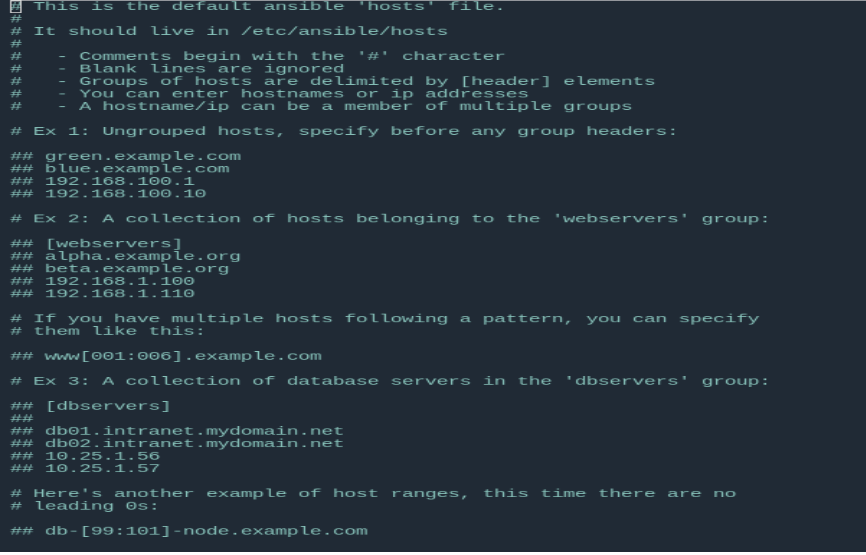 Then put the following entries at the end of the file and save the file. Make sure you replace the host IPs with your corresponding worker node’s IPs.
[servers]
worker1 ansible_host=192.168.0.160
worker2 ansible_host=192.168.0.165

[all:vars]
ansible_python_interpreter=/usr/bin/python3
Here, we have defined a group named servers which consists of 2 different servers, each identified with their alias names: worker1 and worker2.
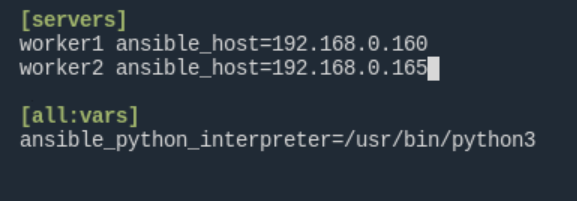
The all:vars helps to set ansible_python_interpreter host parameters for all hosts in this inventory. It ensures that the Python 3 executable is used instead of Python 2.7 which is removed from the newer Ubuntu versions.
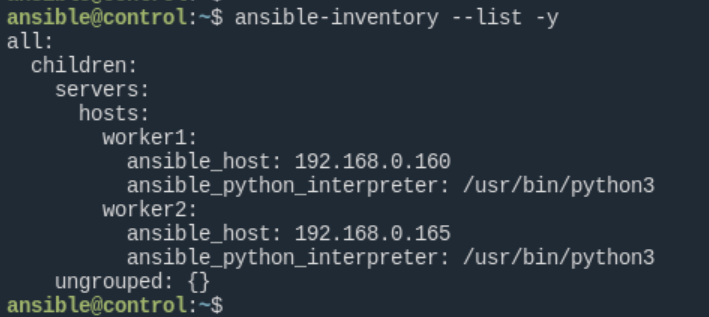
You can check your inventory with this command.
$ ansible-inventory --list -y
Testing the connection
Let’s check whether the connection to host nodes from control is successful or not by doing a ping through the ansible command as follows:
$ ansible all -m ping -u <hostNodeuser>
-u: to specify the remote user
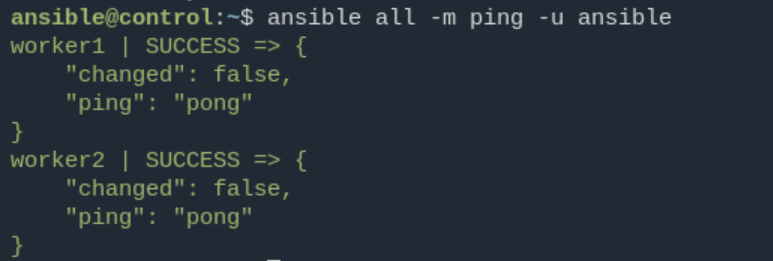 If you get a
 pong reply back, it means you have successfully configured Ansible on your Ubuntu machine. Now, you are ready to run ad hoc commands from the control node.
Running Ad-Hoc Commands
An Ansible ad hoc command automates a single task on one or more host nodes. In order to execute the ansible command on all the remote servers, we have the following syntax in Ansible.
$ ansible all -a "<commandName>" -u <userName>
-a: specify a command to run in a remote host
-u: specify the username in a remote host
Create a new file on remote servers and verify it
The following example creates a file named newfile.txt on both of our remote servers.
$ ansible all -a "touch newfile.txt" -u ansible

Next, verify whether the files are created successfully on both remote servers or not by using the command below.
$ ansible all -a "ls" -u ansible

Here, we can see that thenewfile.txt has been successfully created on both the host nodes with the help of Ansible.
Targeting individual server(s) or server groups
You can target an individual server, multiple servers, or server groups using the ansible command because it might not be always the case that you need to run every command on all host nodes.
Targeting an individual server
In this example, we get the disk usage of /home/ansible directory of the host node worker1.
$ ansible worker1 -a "du -sch /home/ansible" -u ansible

Targeting multiple servers
You can target multiple servers by using the following syntax. This command prints the disk usage of /home/ansible in worker1 and worker2.
$ ansible worker1:worker2 -a "du -sch /hom/ansible" -u ansible

Targeting server groups
You can also target server groups with the ansible command as shown below.
$ ansible servers -a "du -sch /home/ansible" -u ansible
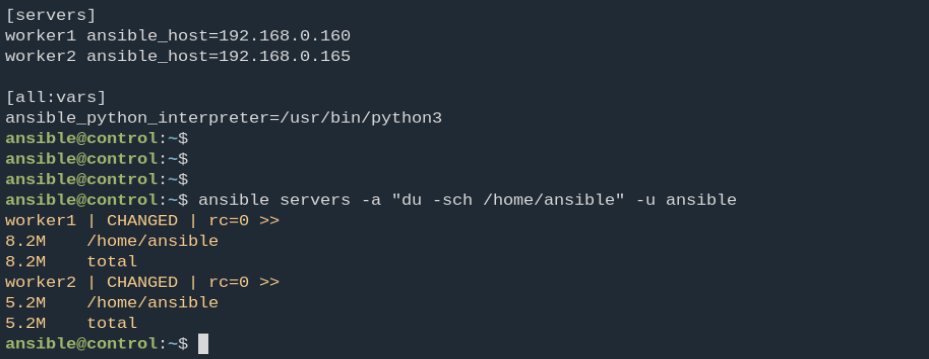
Note: The names worker1 and worker2 are the host node alias names that we previously set in our /etc/ansible/hosts file. Make sure to replace the host node alias with your corresponding server names.
Conclusion
In this tutorial, you have learned to install Ansible, set up an inventory, and run ad-hoc commands from the Ansible control node.
If you have any questions or feedback, please let us know in the comment section.