
GlusterFS is a distributed file system that provides scalable and highly available network storage solutions. It aggregates disk storage resources from multiple servers into a single global namespace. GlusterFS allows you to easily create a virtual pool of storage that you can use for various applications.
This tutorial will explain how to install and configure GlusterFS on the AlmaLinux system.
Prerequisites
Before you start, make sure you have the following.
- A minimum of two AlmaLinux servers
- Access to sudo privileges on both servers.
Configure hostnames and add entries in /etc/hosts file
We have two AlmaLinux servers with IP addresses: 192.168.18.76 and 192.168.18.70.
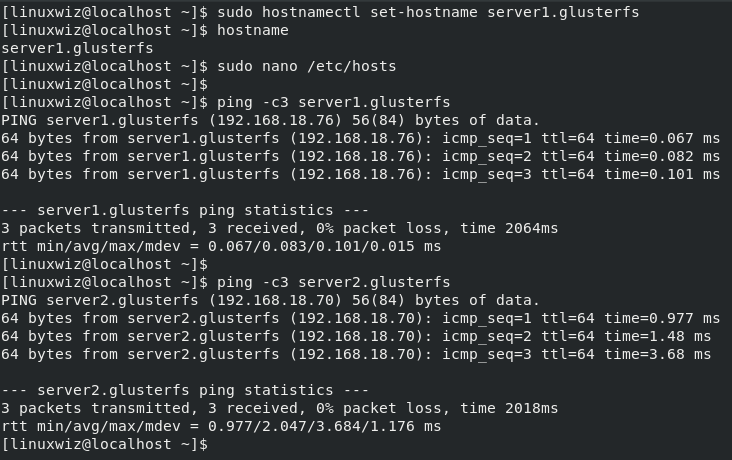
First, we will set the hostname for our servers. On server 1, run the below command.
$ sudo hostnamectl set-hostname server1.glusterfs
On server 2, run this command.
$ sudo hostnamectl set-hostname server2.glusterfs
Next, you will need to add entries in /etc/hosts file on server 1. Execute this command to edit the /etc/hosts file.
$ sudo nano /etc/hosts
Then add the following entries to the file. Make sure you enter the correct hostname and IP address.
192.168.18.76    server1.glusterfs
192.168.18.70    server2.glusterfs
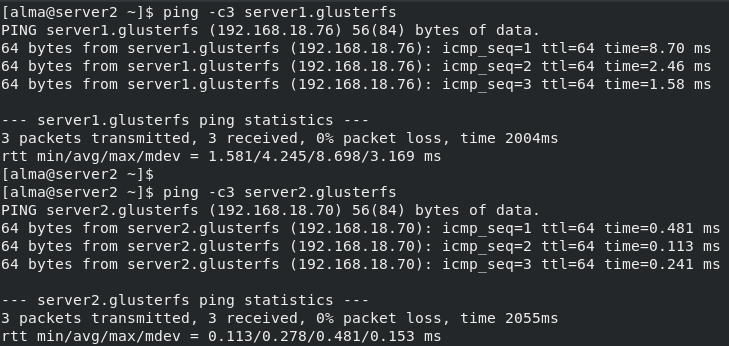
You can test the connectivity between two servers using the ping command.
$ ping -c3 server1.glusterfs
$ ping -c3 server2.glusterfs
Add GlusterFS Repository for AlmaLinux
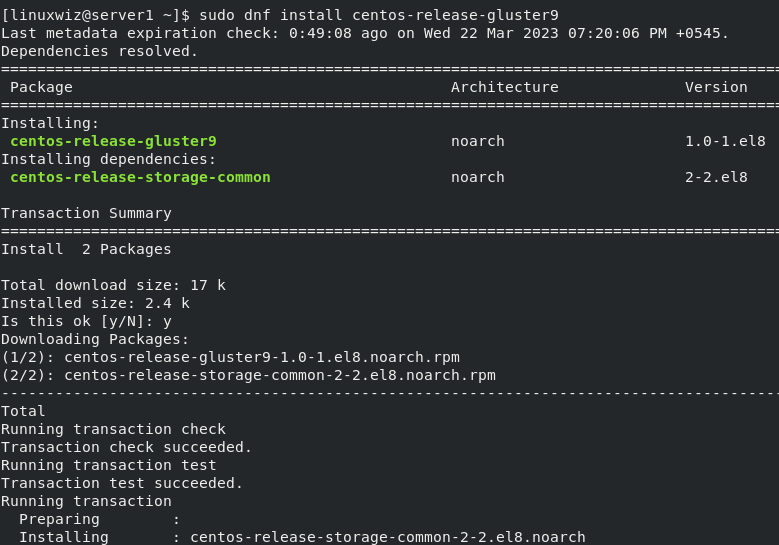
In this step, we will add and configure the GlusterFS repository on the AlmaLinux system. Run the following command to add the GlusterFS repository on both servers.
$ sudo dnf install centos-release-gluster9
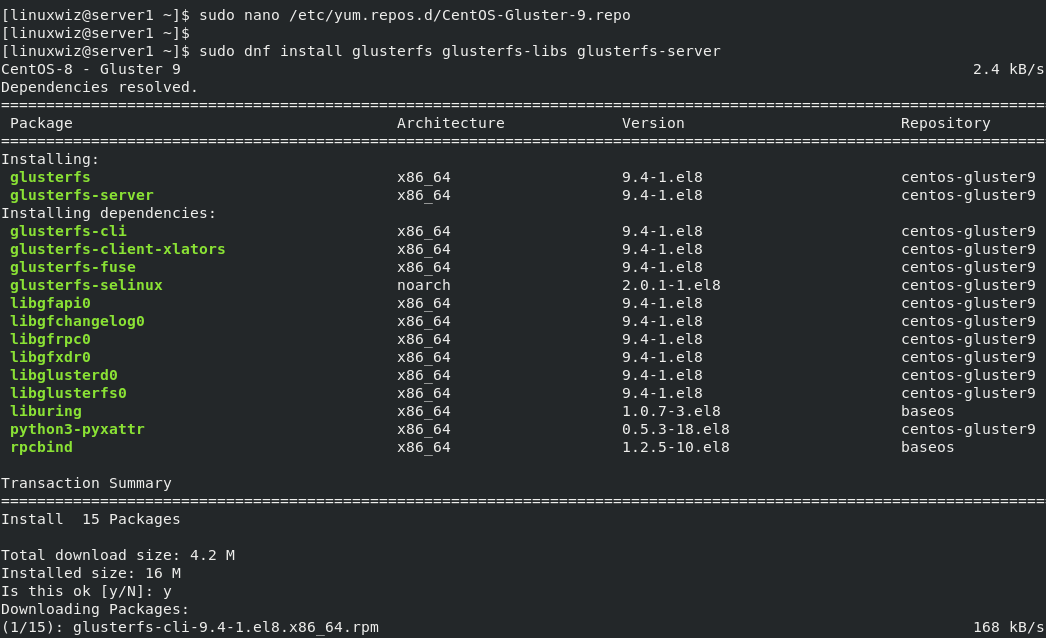
After completing the installation, you will need to edit the configuration file and change the baseurl. Open the /etc/yum.repos.d/CentOS-Gluster-9.repo file in the nano editor.
$ sudo nano /etc/yum.repos.d/CentOS-Gluster-9.repo
In the file, change the baseurl and comment on the mirrorlist as shown below.
#mirrorlist=http://mirrorlist.centos.org?arch=$basearch&release=$releasever&repo=storage-gluster-9
baseurl=https://dl.rockylinux.org/vault/centos/8.5.2111/storage/x86_64/gluster-9/
Press Ctrl+x to exit and y to confirm changes.
Install GlusterFS Server
Now that you have the GlusterFS repository enabled, you can run this command to install GlusterFS packages on both servers.
$ sudo dnf install glusterfs glusterfs-libs glusterfs-server
Once the installation completes, start the glusterfsd service and enable it to start on system startup.
$ sudo systemctl start glusterfsd
$ sudo systemctl enable glusterfsd
Use this command to verify the status of the glusterfsd service.
$ sudo systemctl status glusterfsd
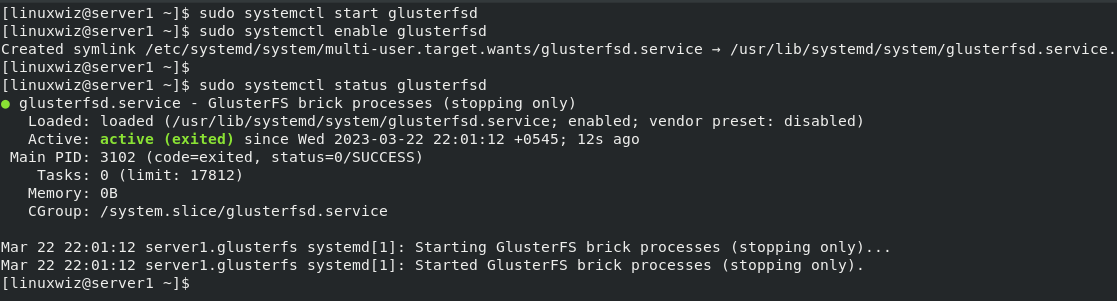
As you can see, the glusterfsd service is currently active and running.
Configure Firewall
To configure the GlusterFS cluster, it is required to open the port for the GlusterFS service.
Run these commands to add glusterfs service to the firewalld configuration.
$ sudo firewall-cmd --add-service=glusterfs --permanent
$ sudo firewall-cmd --reload
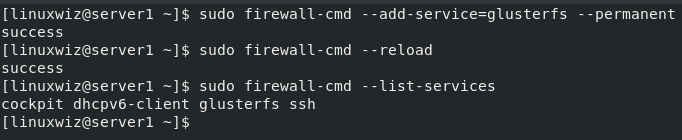
As you can see, glusterfs is added to the list of firewalld services.
Initialize GlusterFS Cluster
Here, we will initialize and set up the GlusterFS cluster on AlmaLinux systems.
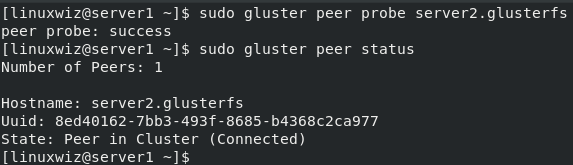
Run this command on server 1 to initialize the GlusterFS cluster. This command can only be run once.
$ sudo gluster peer probe server2.localdomain.lan
It should output: peer probe: success
Use this command to verify the peer status on server 1.
$ sudo gluster peer status
You should see the number of peers is only one on server 1.
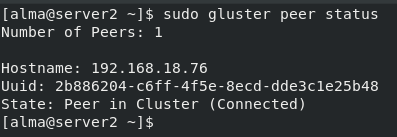
Now, check the peer status on server2.
$ sudo gluster peer status
Here also, you should see the number of peers is 1.
Create GlusterFS Volume
Once you have initialized the GlusterFS cluster successfully, the next step is to create a new GlusterFS volume that will be used by the client machine.
First, create a directory for distributed volume on both servers.
On server 1, run the following command.
$ sudo mkdir -p /data/brick1
On server 2, run this command.
$ sudo mkdir -p /data/brick2
For the production environment, it is recommended to use different disk storage for GlusterFS.
Use the below command to create a volume name dist_volume on both servers.
$ sudo gluster volume create dist_volume server1.glusterfs:/data/brick1/dist_volume server2.glusterfs:/data/brick2/dist_volume
If the process is successful, you will get the following output.
volume create: dist_volume: success: please start the volume to access data
Next, run this command to start the GlusterFS volume dist_volume.
$ sudo gluster volume start dist_volume
You can verify the GlusterFS volume status with this command.
$ sudo gluster status dist_volume
You can see that the status is online and ready to use.

Mount GlusterFS Volume on Client Machine
The final step is to configure the cline machine and mount the GlusterFS volume.
Open the /etc/hosts file using the nano editor on server 2.
$ sudo nano /etc/hosts
Next, insert the hostnames and IP addresses of both servers.
192.168.18.76 server1.glusterfs
192.168.18.70 server2.glusterfs
Then verify the connection between the two servers.
$ ping -c3 server1.glusterfs
$ ping -c3 server2.glusterfs
Run this command to install the GlusterFS client package on the client-server.
$ sudo dnf install glusterfs-client
After completing the installation, create a new mount directory /mnt/gluster with this command.
$ sudo mkdir /mnt/gluster
Next, mount the GlusterFS volume dist_volume to the /mnt/gluster directory using the command below.
sudo mount.glusterfs server1.gluster:/dist_volume /mnt/gluster
Run this command to confirm whether the GlusterFS volume is mounted.
$ df -h
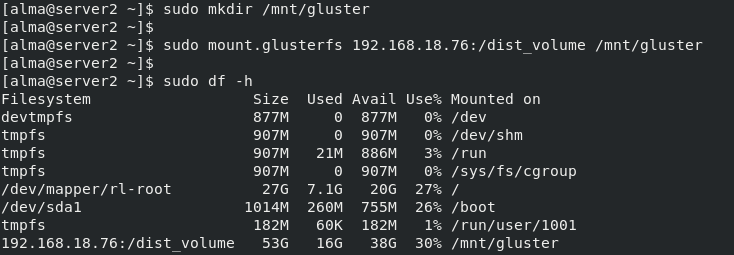
As you can see, the GlusterFS dist_volume is successfully mounted to the /mnt/gluster directory on the client server.
Test the GlusterFS Distributed Volume
Now, we will test the GlusterFS distributed volume. For that, we will create 10 .txt files on the /mnt/gluster directory using this command.
$ sudo touch /mnt/gluster/test{1..10}.txt
Then check the GlusterFS brick mount points on each server.
On server 1:
$ ls /data/brick1/dist_volume
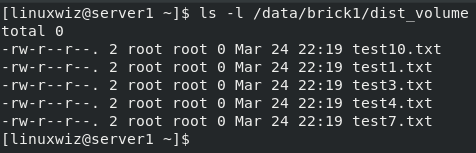
On server 2:
$ ls /data/brick2/dist_volume
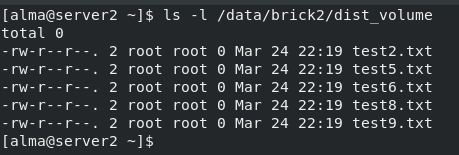
You will see that the 10 files you have created are equally distributed on both gluster nodes.
Conclusion
Now you should know how to install and configure the GlusterFS on the AlmaLinux system. We hope this article helps you to understand how to set up GlusterFS distributed volume in AlmaLinux.
If you have any confusion, please let us know in the comments.