
Neo4j is an open-source graph database designed to store, manage, and traverse nodes and relationships in the most efficient way. It is a NoSQL database system developed using Java programming. It uses the property graph method which helps for better traversal performance and operations runtime.
Neo4j is scalable and can be installed in production environments on a single server or across several computers in a fault-tolerant cluster. It is available in both a free community and an enterprise edition for commercial solutions.
This article will discuss how to install and configure Neo4j on Rocky Linux.
Prerequisites
Before starting, make sure you have the following:
- A Rocky Linux server with an internet connection
- Access to the sudo privileges
Step 1: Install Java
Since Neo4j is written in Java, the first step is to install the Java Development Kit (JDK). The latest release Noe4j v5 requires the Java 17 runtime.
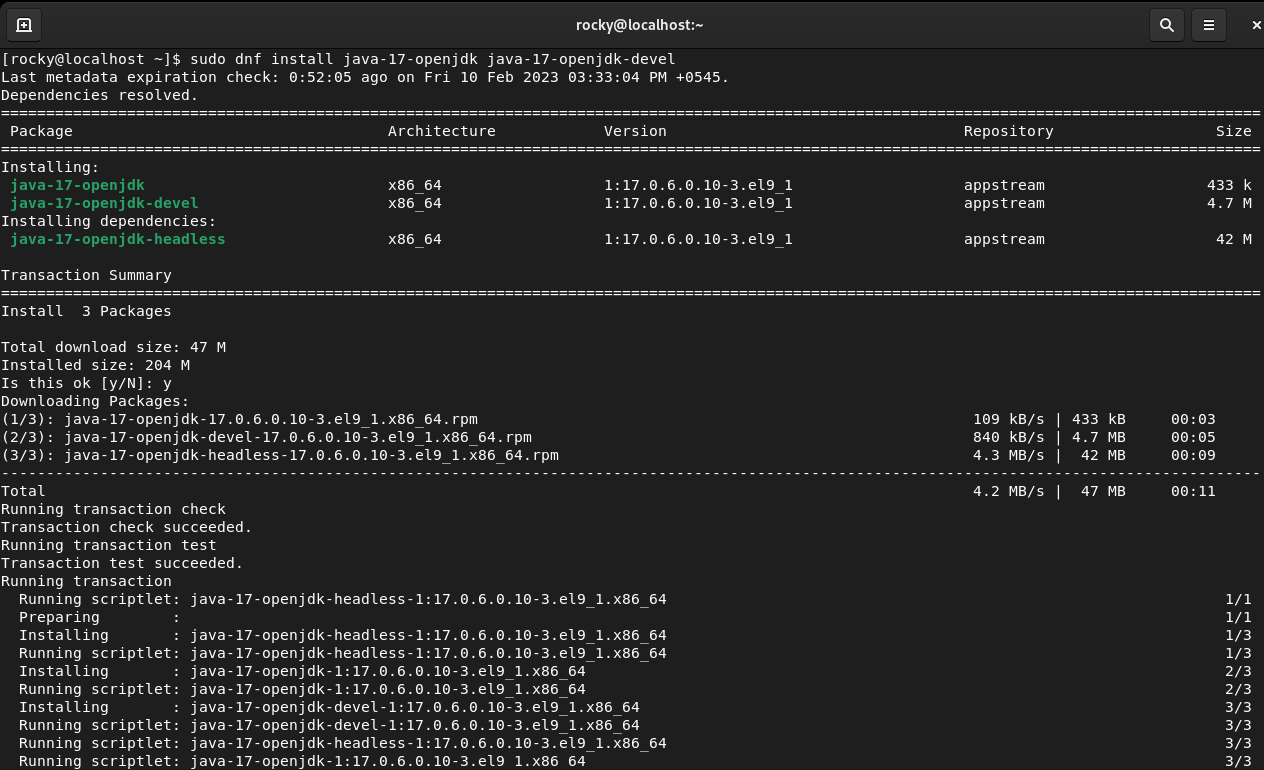
You can run the following command to install OpenJDK Java 17 on your system.
$ sudo dnf install java-17-openjdk java-17-openjdk-devel
To verify the installation, check the Java version with the below command.
$ java -version

Here, you should see OpenJDK version 17. If you see a different version in the output, it means there are multiple versions installed on your system.
To change the current Java version, run the following command.
$ sudo alternatives –config java
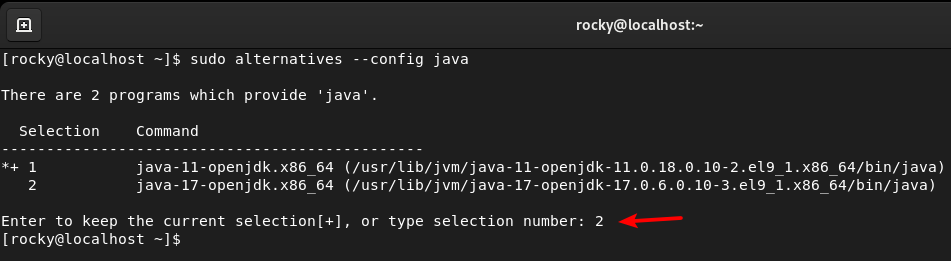
Then provide the selection number of Java 17 and press Enter.
You can verify the change by checking the Java version again.
$ java -version

As you can see, the current version is set to 17 successfully.
Step 2: Set up the repository
The official package repositories of Rocky Linux do not include the Neo4j package. You will need to import the GPG key from Neo4j to install Neo4j.
Run this command to import the Neo4j GPG key.
$ sudo rpm --import https://debian.neo4j.com/neotechnology.gpg.key
Next, you have to add the Neo4j repository to the system.
Open the file in any editor of your choice. Here, we are using the nano editor.
$ sudo nano /etc/yum.repos.d/neo4j.repo
Then paste the below content into it.
[neo4j]
name=Neo4j RPM Repository
baseurl=https://yum.neo4j.com/stable/5
enabled=1
gpgcheck=1
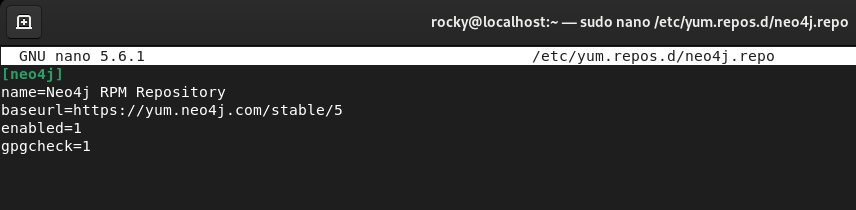
Press Ctrl+X to exit the editor and enter y to confirm the changes.
You can view the repositories on the system with this command.
$ sudo dnf repolist
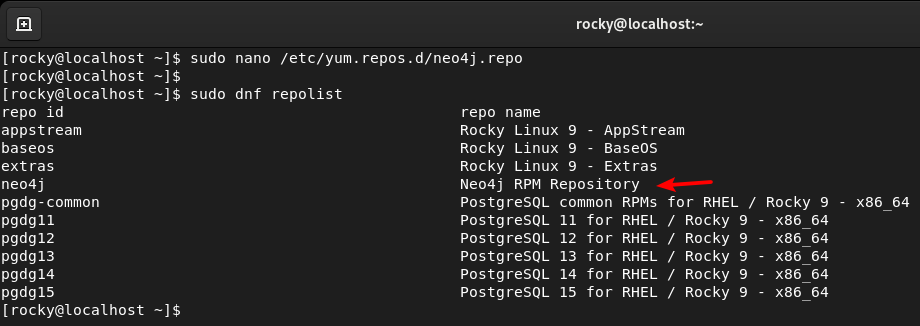
You should see the added repository on the list. Now, you can install Neo4j from this repository.
Step 3: Install Neo4j
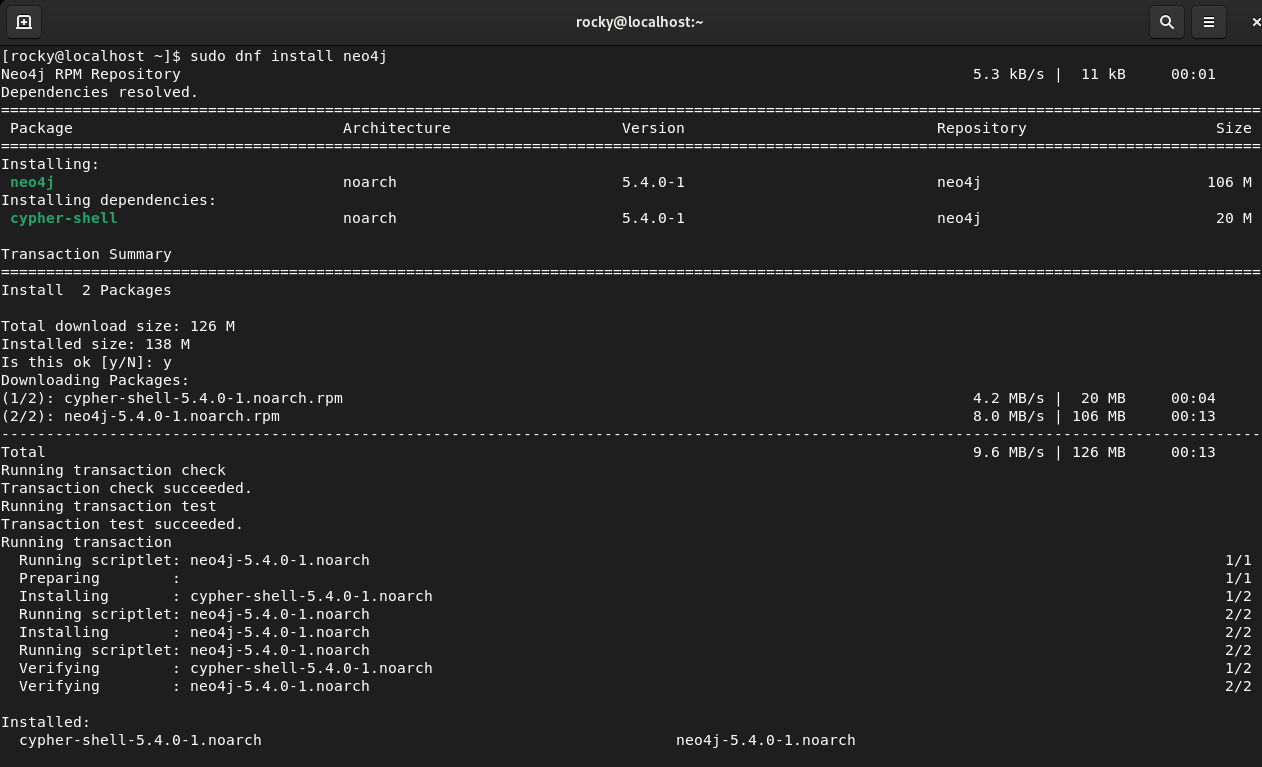
Use the following command to install Neo4j on your system.
$ sudo dnf install neo4j
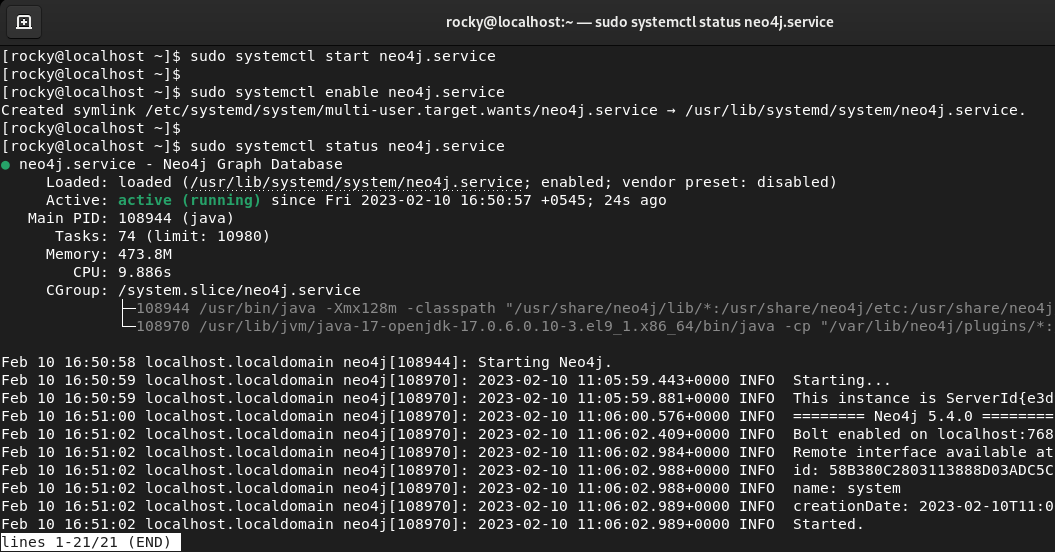
Once you finish the installation, execute the below command to start the Neo4j service.
$ sudo systemctl start neo4j.service
To enable Neo4j to start automatically on boot, you can run the following:
$ sudo systemctl enable neo4j.service
You can confirm the status of the service using this command.
$ sudo systemctl status neo4j.service
The output should look similar to the below image.
Step 4: Configure Neo4j
Now that you have the Neo4j service installed and running, let’s see how to connect to the Neo4j database. Neo4j provides the command-line tool ‘Cypher Shell’ for running commands and database queries.
You can open the Cypher shell using this command.
$ cypher-shell
You will be asked to enter the username and password. The default login credentials are:
- Username: neo4j
- Password: neo4j
Once you enter these credentials, you will be asked to set a new password. So, enter a new password and confirm the password. Then you will be connected to Neo4j as user neo4j.
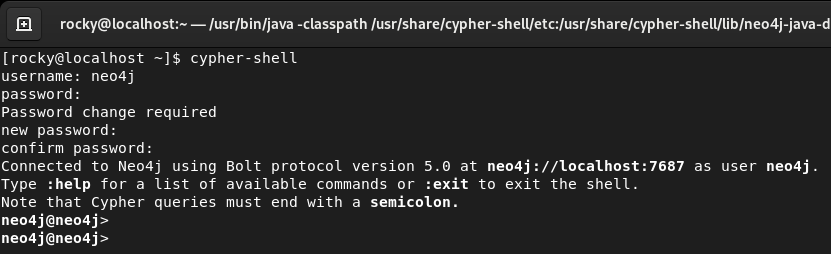
You can enter commands and queries in this command-line interface. For example, you can run the :help command to view a list of all available commands. To exit the shell, type the :exit command.

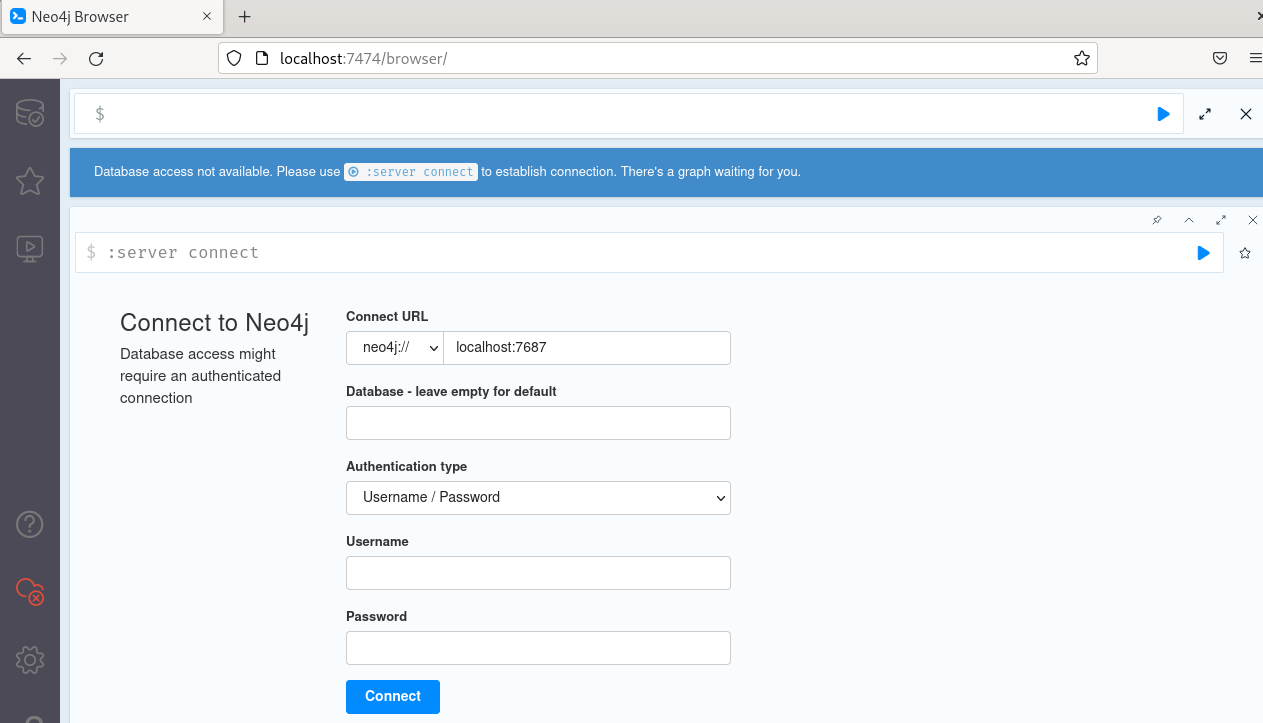
You can access the web interface of Neo4j by visiting http://localhost:7474. Here, you can connect to the database by entering the database name and login credentials.
Step 5: Configure Neo4j for Remote Access
The default configuration is to accept local connections from localhost only. To make Neo4j accept connections from the remote host, you have to edit the configuration file /etc/neo4j/neo4j.conf and add the setting to accept non-local connections.
Open the configuration file in any editor of your choice. We are using the nano editor in this tutorial.
$ sudo nano /etc/neo4j/neo4j.conf
Find the line #server.default_listen_address=0.0.0.0 and uncomment it by removing # symbol at the beginning.
Then press Ctrl+X and enter y to save the changes and exit the editor.
The value 0.0.0.0 binds Neo4j to all the IPv4 interfaces available on your system, including localhost. But you cannot connect to the database using the IPv6 address directly. If you want to use an IPv6 address, you have to add an entry to the /etc/hosts file of the remote system. It should point the address to the local machine.
For example, if you have a Neo4j server with an IPv6 address fe80::b024:df04:b5d5:12e9, you will need to add the below entry to the /etc/hosts file.
fe80::b024:df04:b5d5:12e9 hostname
Then you should be able to connect to the Neo4j server using the following command.
$ cypher-shell -a 'neo4j://hostname:7687'
You will be asked to enter your username and password as in the above step.
Step 6: Run Queries in Neo4j
You can run queries and administrative commands in the Cypher Shell CLI.
Open the Cypher Shell by entering the following command.
$ cypher-shell
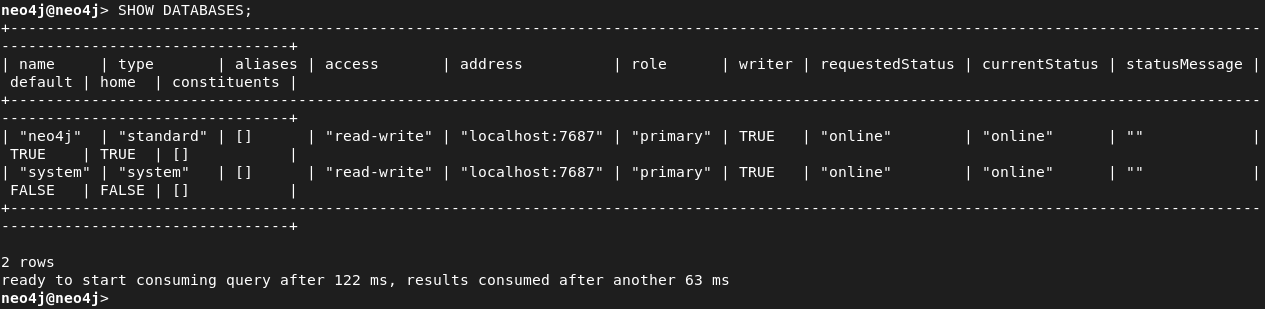
To display the status of all databases, run this query.
SHOW DATABASES;
To display the status of a single database, you can specify that database.
SHOW DATABASE database_name;
To create a new database rocky, run this query.
CREATE DATABASE rocky;
To switch a database, execute this command.
:use database_name
To stop the database:
STOP DATABASE database_name;
To start the database:
START DATABASE database_name;
To remove the database:
DROP DATABASE database_name;
The administrative commands such as creating, stopping, starting, and removing a database are supported in the Enterprise edition only. The cypher-shell queries are not case-sensitive but must end with a semicolon. For detailed information on cypher-shell queries, see Queries in Cypher Manual.
Conclusion
That’s it! Now you know how to install and use the Neo4j database system on Rocky Linux. If you have any questions about this tutorial, let us know in the comment section.