Django is a free and open-source Python web framework. With Django, you can build dynamic web applications written in Python easier and faster. It offers a wide range of features for creating better Python-based web applications.
It is a popular full-stack framework known for its security, development speed, and scalability. Some popular websites built with Django are YouTube, Instagram, Spotify, DropBox, Pinterest, Mozilla Firefox, BitBucket, etc.
This tutorial will explain how to install the Django web framework on Ubuntu 22.04 system. We will also discuss how you can create and run a simple Django application.
Prerequisites
For this tutorial, you will need access to the sudo privileges on the Ubuntu machine. We will be using Ubuntu 22.04 for installing Django. If you need to set up Ubuntu 22.04, you can follow our tutorial on how to upgrade to Ubuntu 22.04 LTS.
There are different methods for installing Django in Ubuntu. Some of them include:
- Install Django from Ubuntu repositories
- Installing Django from the Git repository
- Using
pipcommand to install Django
Let’s explore all the installation methods and set up the Django framework on Ubuntu 22.04 LTS.
Install Django from Official Ubuntu Repositories
Django is available on the official package repositories of Ubuntu. One of the simplest methods is to use the apt package manager tool and get Django from the Ubuntu official repositories.
First, you will need to update the package index of your system using the following command.
$ sudo apt update
Check which Python version is installed on your system with this command.
$ python3 -V
Output:
linuxwizardry@ubuntu-PC:~$ python3 -V
Python 3.10.4
Then run the apt command below to install Django.
$ sudo apt install python3-django
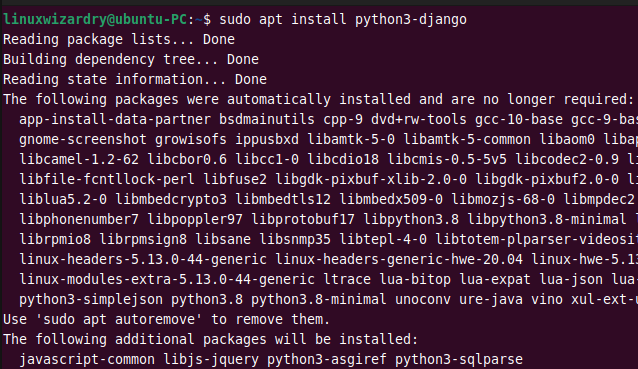
You can verify whether the installation is successful by checking the Django version. This command prints the Django version on the system.
$ django-admin --version
If it returns the version, you have successfully installed Django on your system.
Output:
linuxwizardry@ubuntu-PC:~$ django-admin --version
3.2.12
The above output confirms we have installed the Django version 3.2.12. The current LTS release of Django is 3.2, which will be supported until April 2024.
Install Django from the Official Django Repository
You can install the development version of Django using its GitHub repository. Follow the steps below to clone Django’s git repository and get Django on your system.
First, you have to update the package index to the latest version.
$ sudo apt update
Check the python version installed on your system.
$ python3 -V
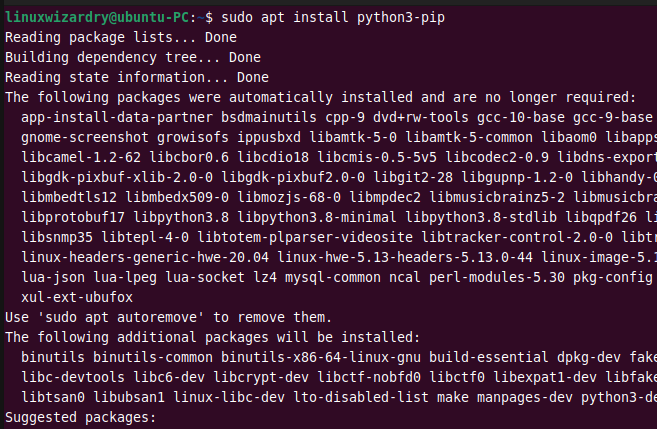
You will need a pip which is a package manager tool for python. You can install pip tool using the apt command.
$ sudo apt install python3-pip
Next, clone the Django git repository to the directory django-setup in the home directory.
$ git clone https://github.com/django/django ~/django-setup

Then change the current directory to django-setup and run this command to install Django.
$ pip install -e ~/django-setup
pip install packages from the Python Package Index. Once the installation is completed, verify it by entering the command below.
$ django-admin --version
Install Django in the Python Virtual Environment
You can also install Django in the virtual Python environment instead of the system. It allows you to use Django for a specific project without affecting other files or projects on the system.
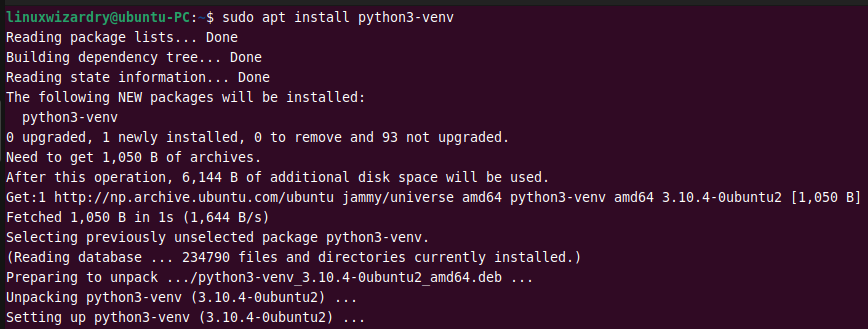
First, you have to install the virtual environment package.
$ sudo apt install python3-venv
Next, create a new directory where you want to create a virtual environment and change it to the current working directory.
$ mkdir myproject
$ cd myproject
The following command creates a new virtual environment myenv. After creating the environment, you have to activate it before using it.
$ python3 -m venv myenv
This command activates the Python virtual environment.
$ source myenv/bin/activate
See the username in the terminal to confirm whether you are in the virtual environment. It should look like (myenv)username@host:~.

You can use pip command to install Django in your virtual environment.
$ pip install django

After completing the installation, check the Django version with this command.
$ django-admin --version
Output:
(myenv) linuxwizardry@ubuntu-PC:~/myproject$ django-admin --version
4.0.5
To exit from the virtual environment, you can type deactivate command.
$ deactivate
You must activate your virtual environment before running the Django application.
Create a Sample Django Project
You should have successfully installed Django on the system. Now, let’s discuss how you can build a Django project and test it on the local server.
We will create a new Django project myfirstproject in the previously built virtual environment myenv.
First, activate the virtual environment.
$ source myenv/bin/activate
Next, run the following command to create a new Django project mydjango.
$ django-admin startproject myproject .
Then you have to migrate the database using the command below.
$ python manage.py migrate
Django uses the SQLite database by default.
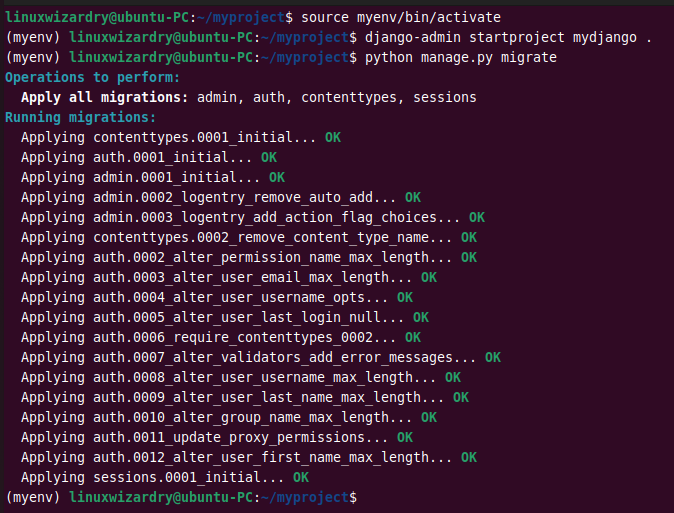
After the migrations process is completed, create an administrative account for using the Django admin interface. The following command creates a new admin user for the Django project.
$ python manage.py createsuperuser
It will prompt you to enter the new user’s username, email, and password. After submitting all values, the admin user will be created successfully. If you leave blank in the username field, the current user’s login name is taken.

Now, let’s run our newly created Django project. You can use the following command to start the Python Django development server.
$ python manage.py runserver

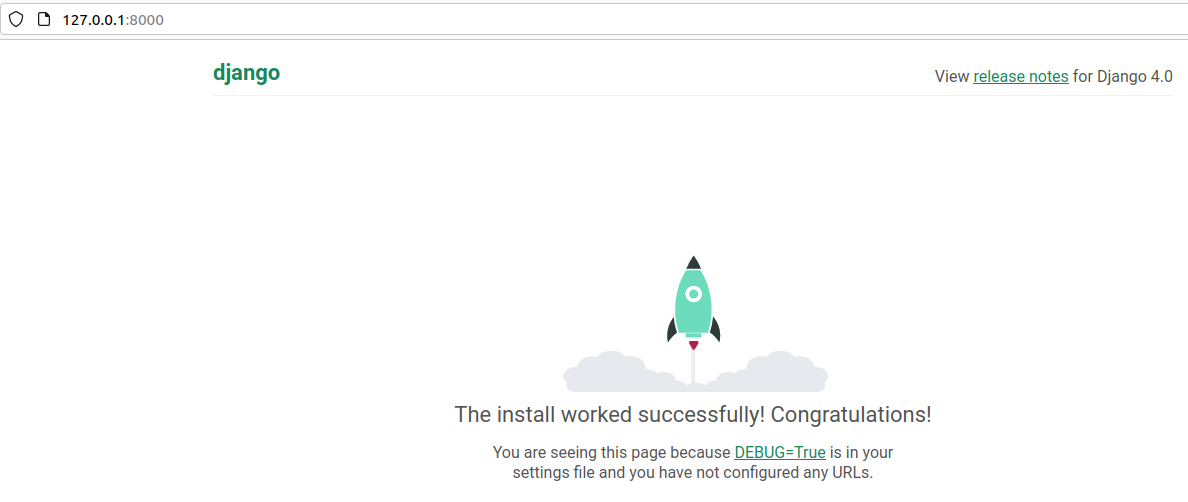
The above output shows that the Django project is now up and running on port 8000. You can visit http://127.0.0.1:8000/ on your web browser to view the site.
If you get similar output as below, you have successfully created the Django web application. It is the default home page of Django.
You can access the admin panel by adding the admin path to the site URL.
http://127.0.0.1:8000/admin
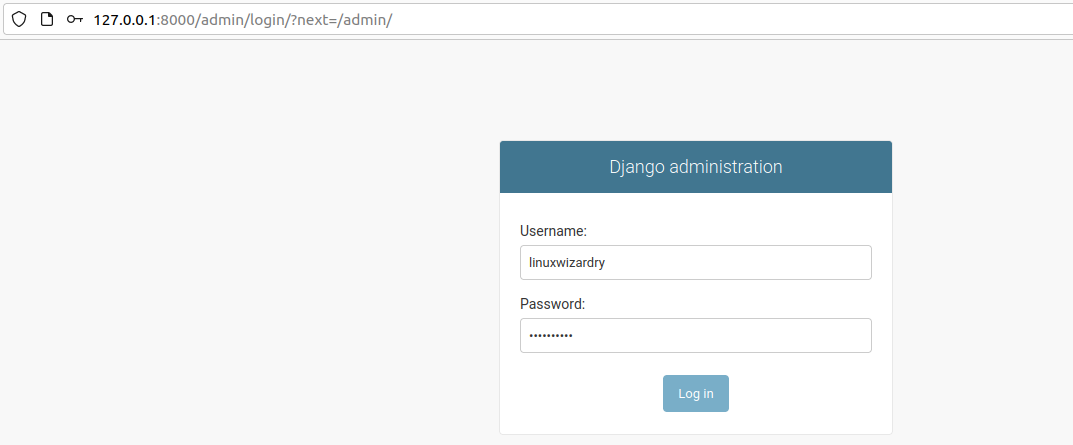
Type the username and password of the admin user you created before and press Log in button.

To stop the Django server, enter Ctrl + C on the terminal.
Conclusion
In this tutorial, you have learned different methods to install the Django web framework on Ubuntu operating system. We also discussed how to create the Django project and launch it on the local server. It is easier to create web applications more quickly with Django.
We hope this article is helpful for you to understand how to install Django on Ubuntu 22.04 LTS. If you have any questions or feedback, please let us know in the comment section.
